Christmas Lights v3
Version one of the Christmas lights on our house was to use mini white lights. I tucked them into the siding and outlined all the edges of the house. It looked great, but over time mini lights start to burn out so they had to go.
Version two was to use LED lights. I used the tape/ribbon LED lights along the roofline. This worked great for a few years but then these lights started to discolor. Setting the house to a solid color would look uneven. Also, the strip LED lights I used were standard RGB and not individually addressable which means they all needed to be the same color.
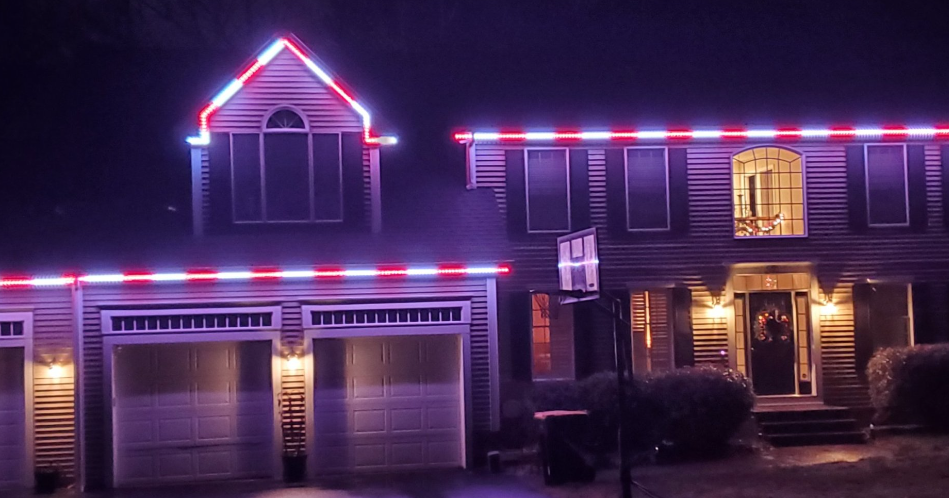
Version three are what we currently have up and they are much nicer than the previous two. They are individually addressable so we can have a variety of patterns or animations.
I decided to go with Pixel lights which are individual bullet shaped lights with about 3″ of wire between each light. The lights were from Alitove and were WS2811 12mm pixels. 10 strings of 50 lights for $159.
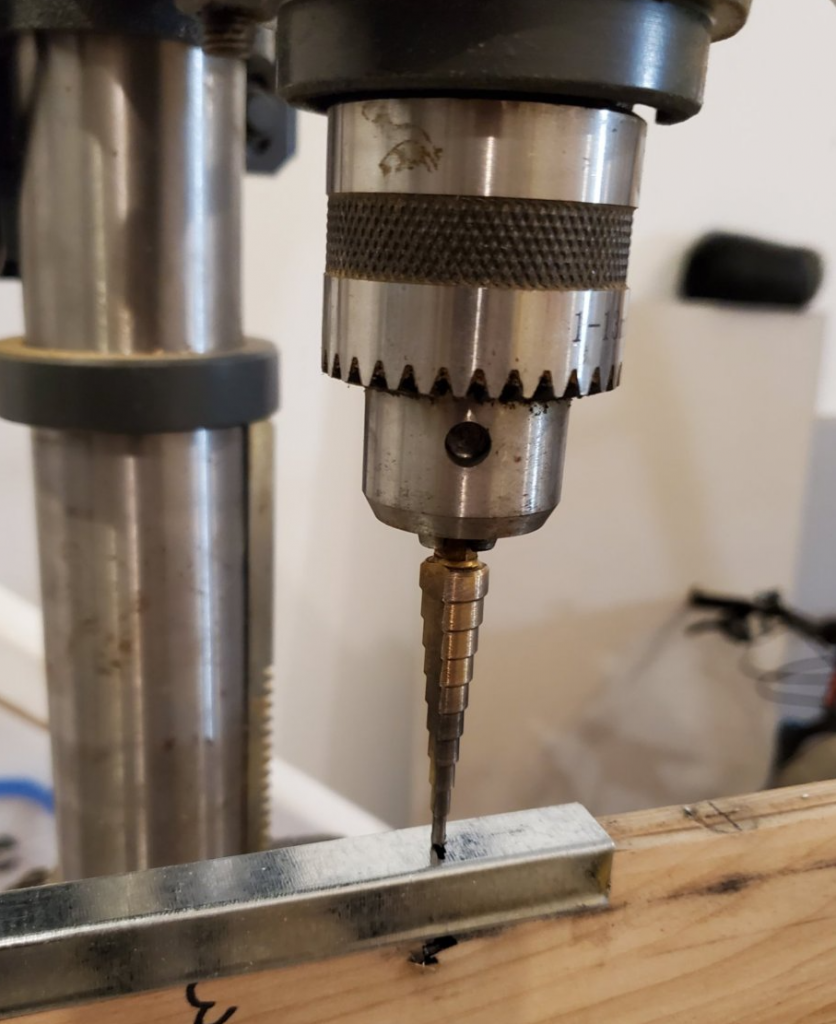
I did not want the wires to show on the house so I created segments of J Channel that the wires could hide in. I had sheet metal J-Channel for the front which I drilled holes in to push the lights through. This was then riveted to a vinyl siding j channel on the back side.


The lights inserted into the metal j-channel before putting the back vinyl j-channel on. Each segment was around 8′ long with the connectors at the end so they could be chained together.
Note that at the end of each segment was also the option to inject power into the line to avoid fading on the long runs.
I did not have to worry about the light signal fading since every pixel acts like a repeater so the data signal stays strong.
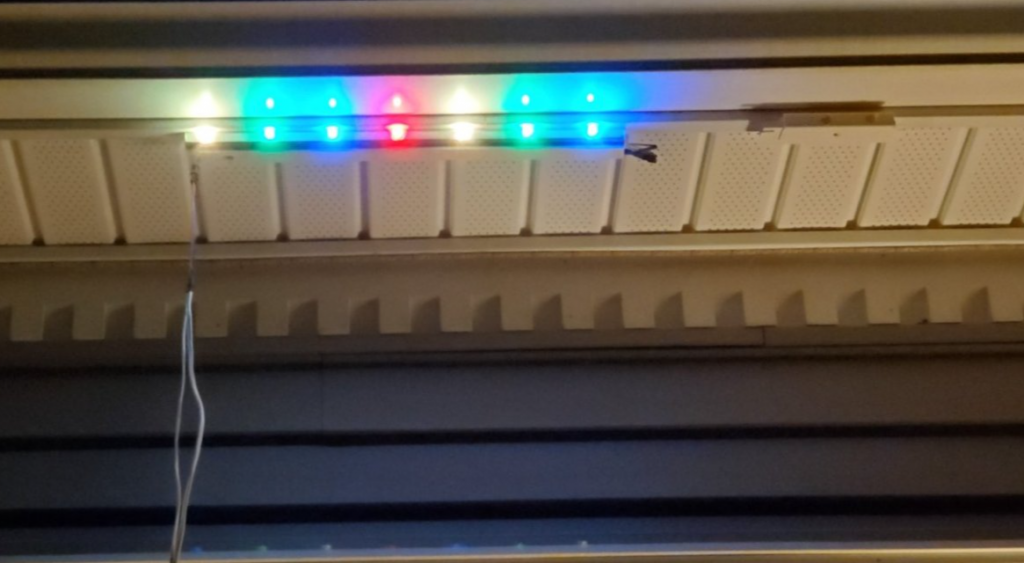
The above photo is a short test strip that I built to see how it would attach. Because the J-channels overlap, I was able to slide the vinyl j channel under the lip already on the roof. The lights basically hold themselves up.
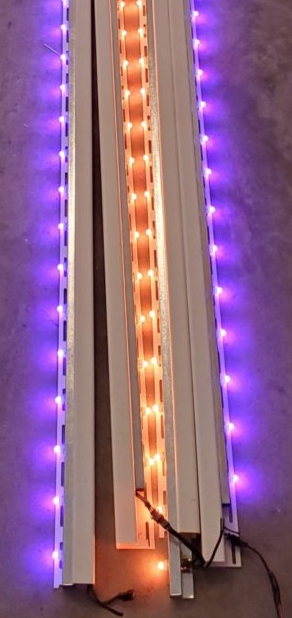
Some of the completed segments. Notices that I have the edges staggered. This allowed me to keep the lights even when they are up on the roof since the ends interlock with each other. This also makes it easier to hide the wire connectors.
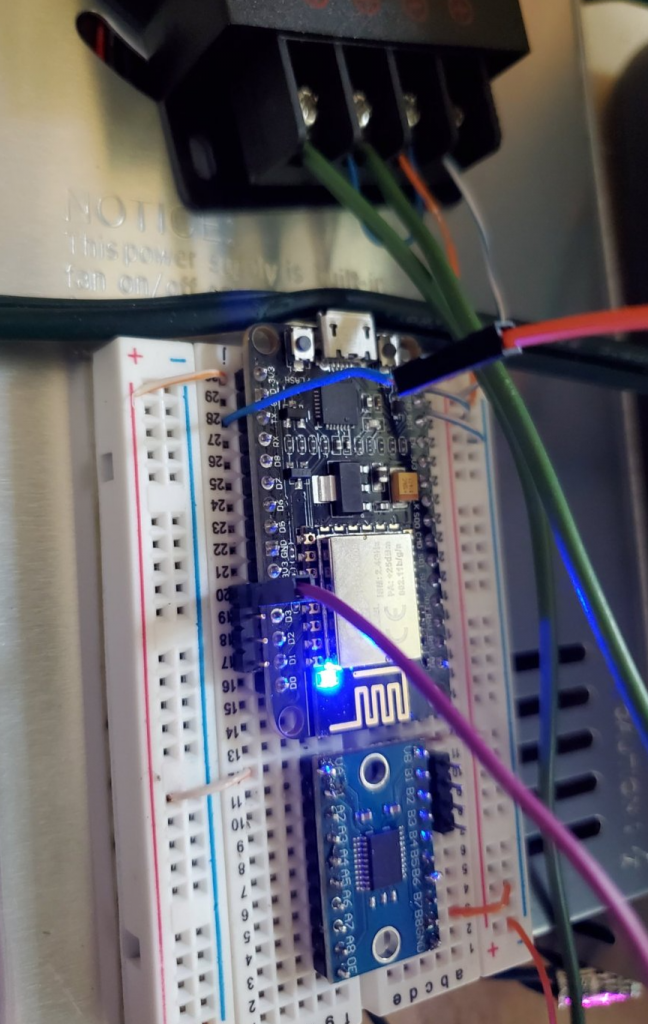
The controller board for the lights. This was the ESP8266 (Note, I have since switched out the ESP8266 with an ESP32) on top with the bottom being a signal amplifier. My final design was to ditch the signal amplifier and instead sacrifice a pixel by having the ESP directly power a single Pixel and then from there do the long data run to the string of lights outside.
The lights themselves are powered by a 12v, 600 watt power supply with a step down converter since the ESP runs on 5 volts.
For the software, I flashed the ESP with a bios from AirCookie called WLED. It is a very versatile package for controlling all kinds of LED lights and can handle voltage overload protection.
That is another thing I should mention, if you do this, do the math to figure out the guage of wire you need to run from the power supply to the lights. While one light does not draw much current, string a few hundred of them together and they can draw significant current.
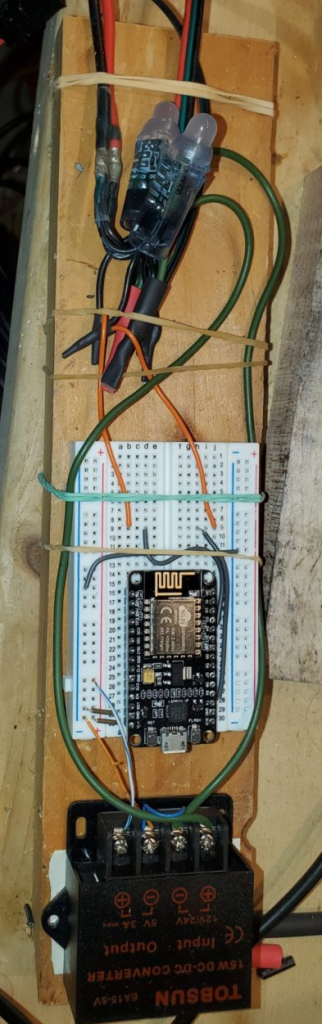
Another photo, this one with the sacrificial pixels. Note the high tech rubber band fasteners to keep things from moving around while I was experimenting. 🙂